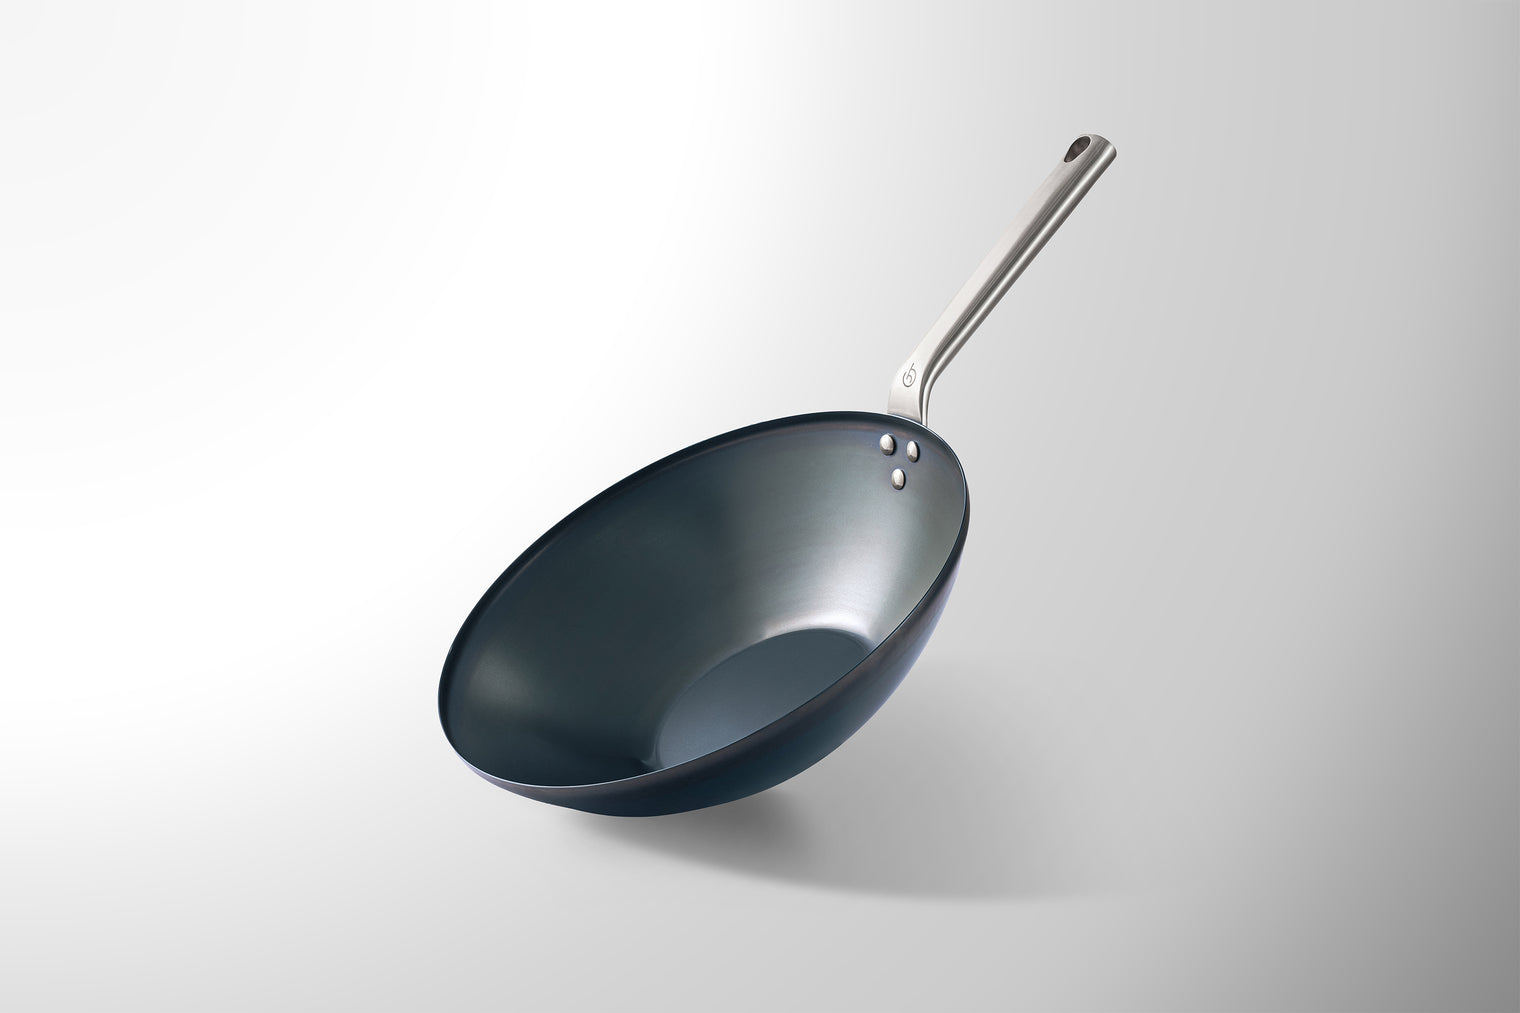
Carbon Steel Wok
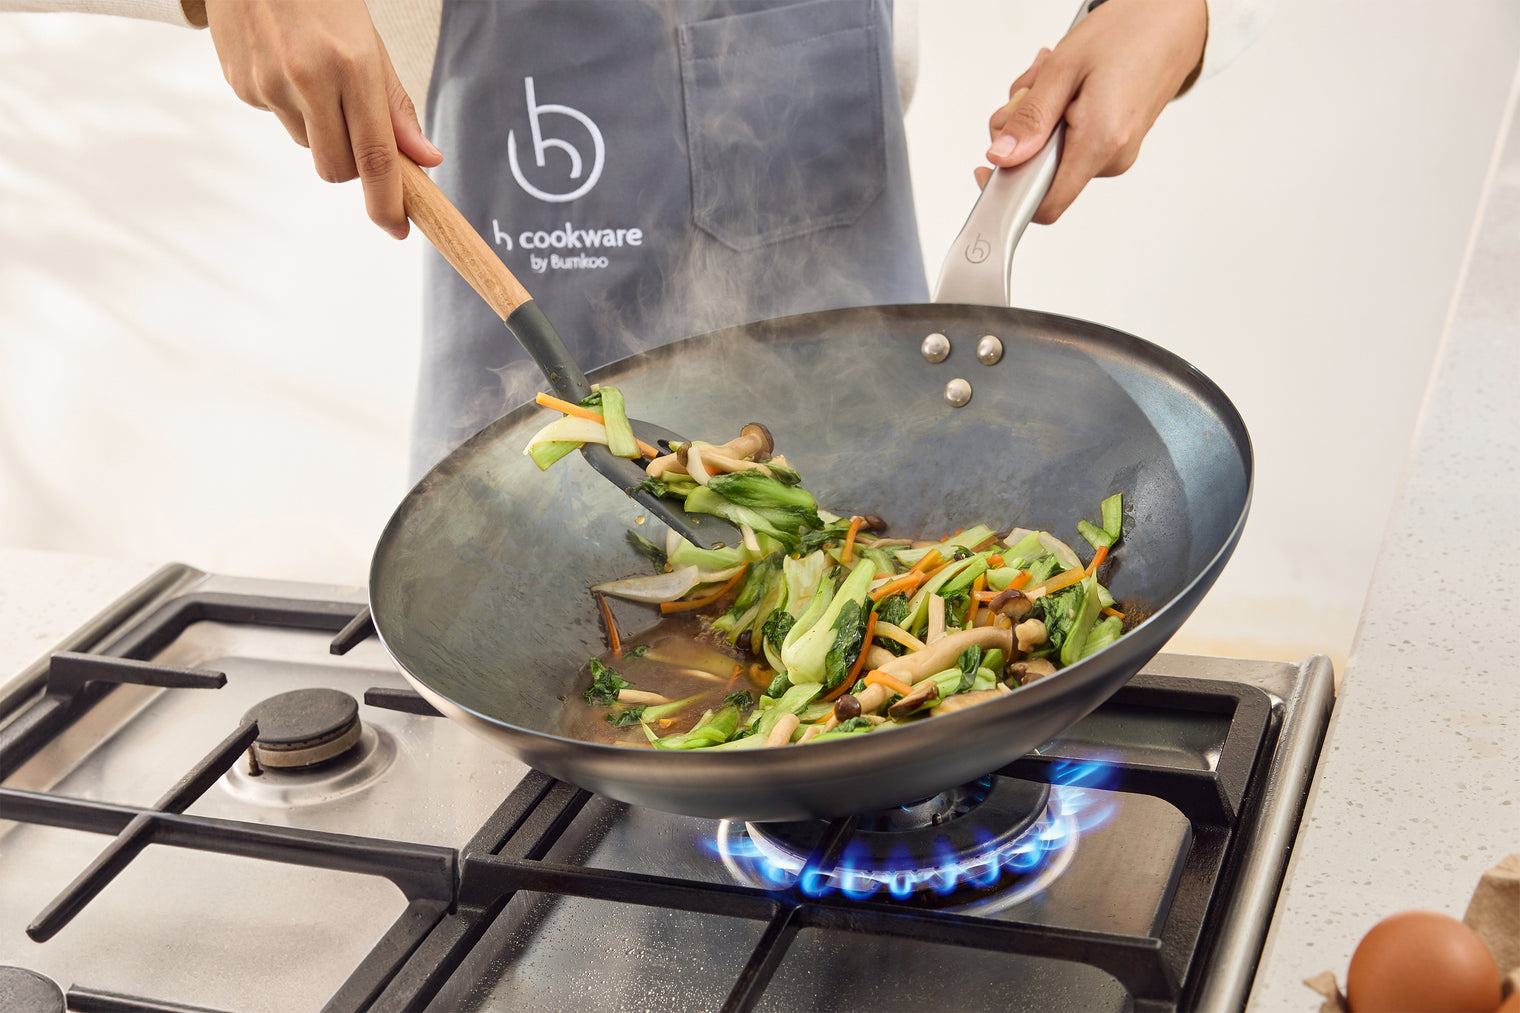
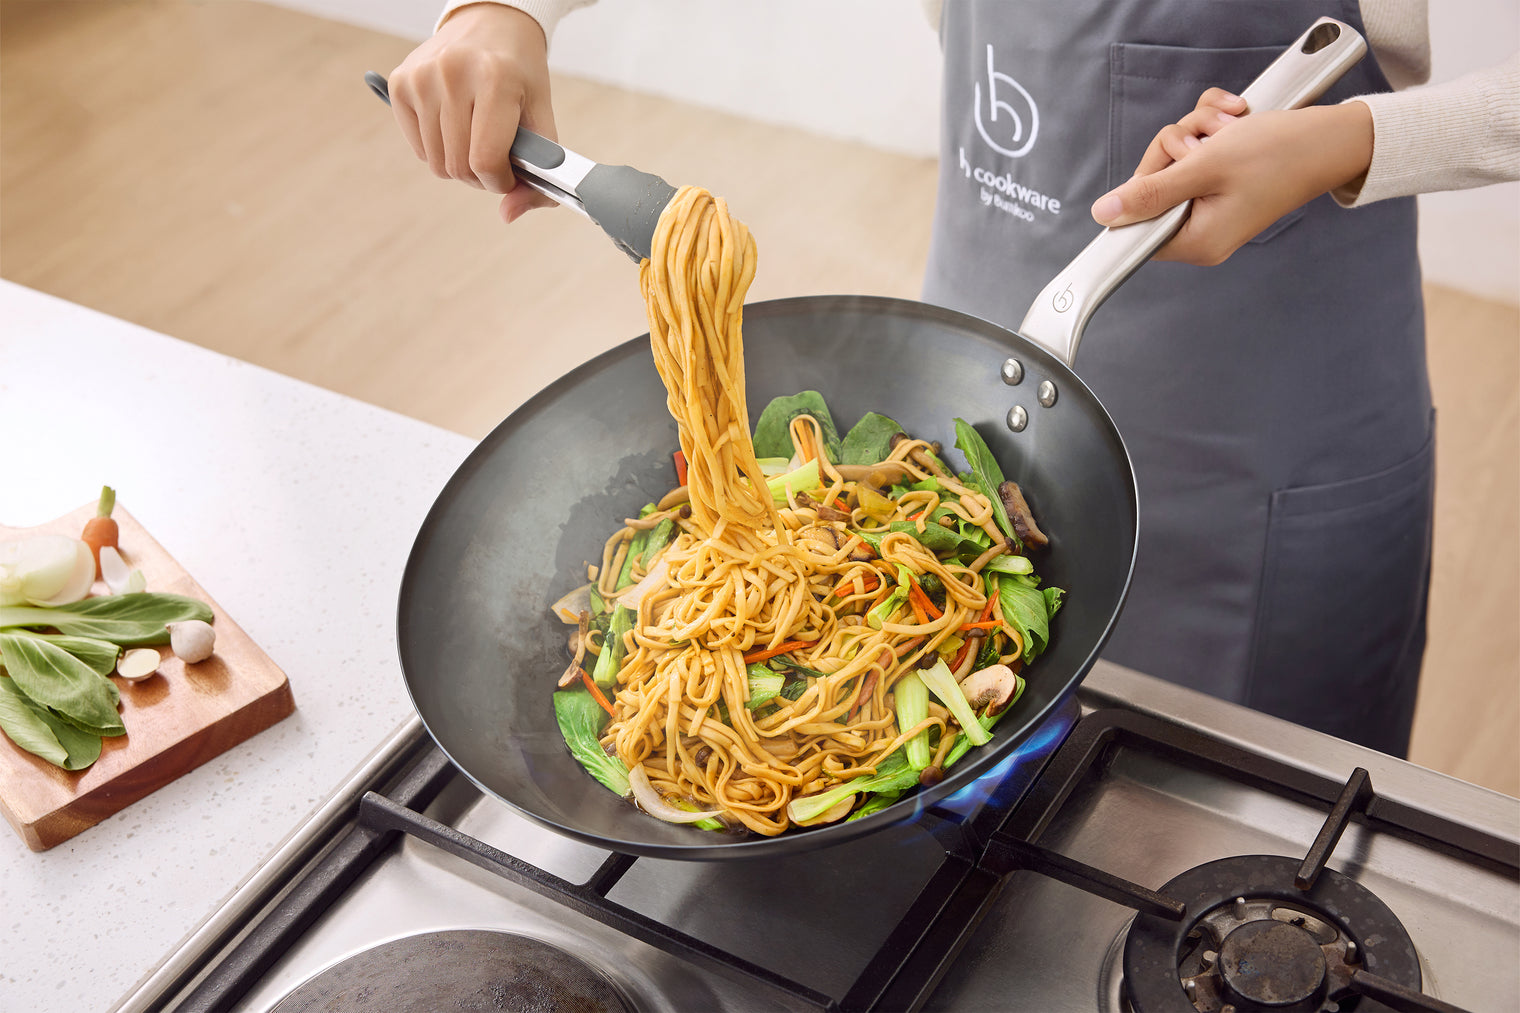
Designed for speed, balance, and high-heat cooking, the Carbon Steel Wok delivers responsive performance and consistent heat. Its flat bottom ensures stability on all cooktops, including induction.
Hand-heat treated for improved rust resistance and easier initial seasoning, the wok’s shape and heat retention make it ideal for stir-frying and achieving true wok hei. Over time, the surface naturally builds a smooth, nonstick patina that enhances release and flavor.
Specifications
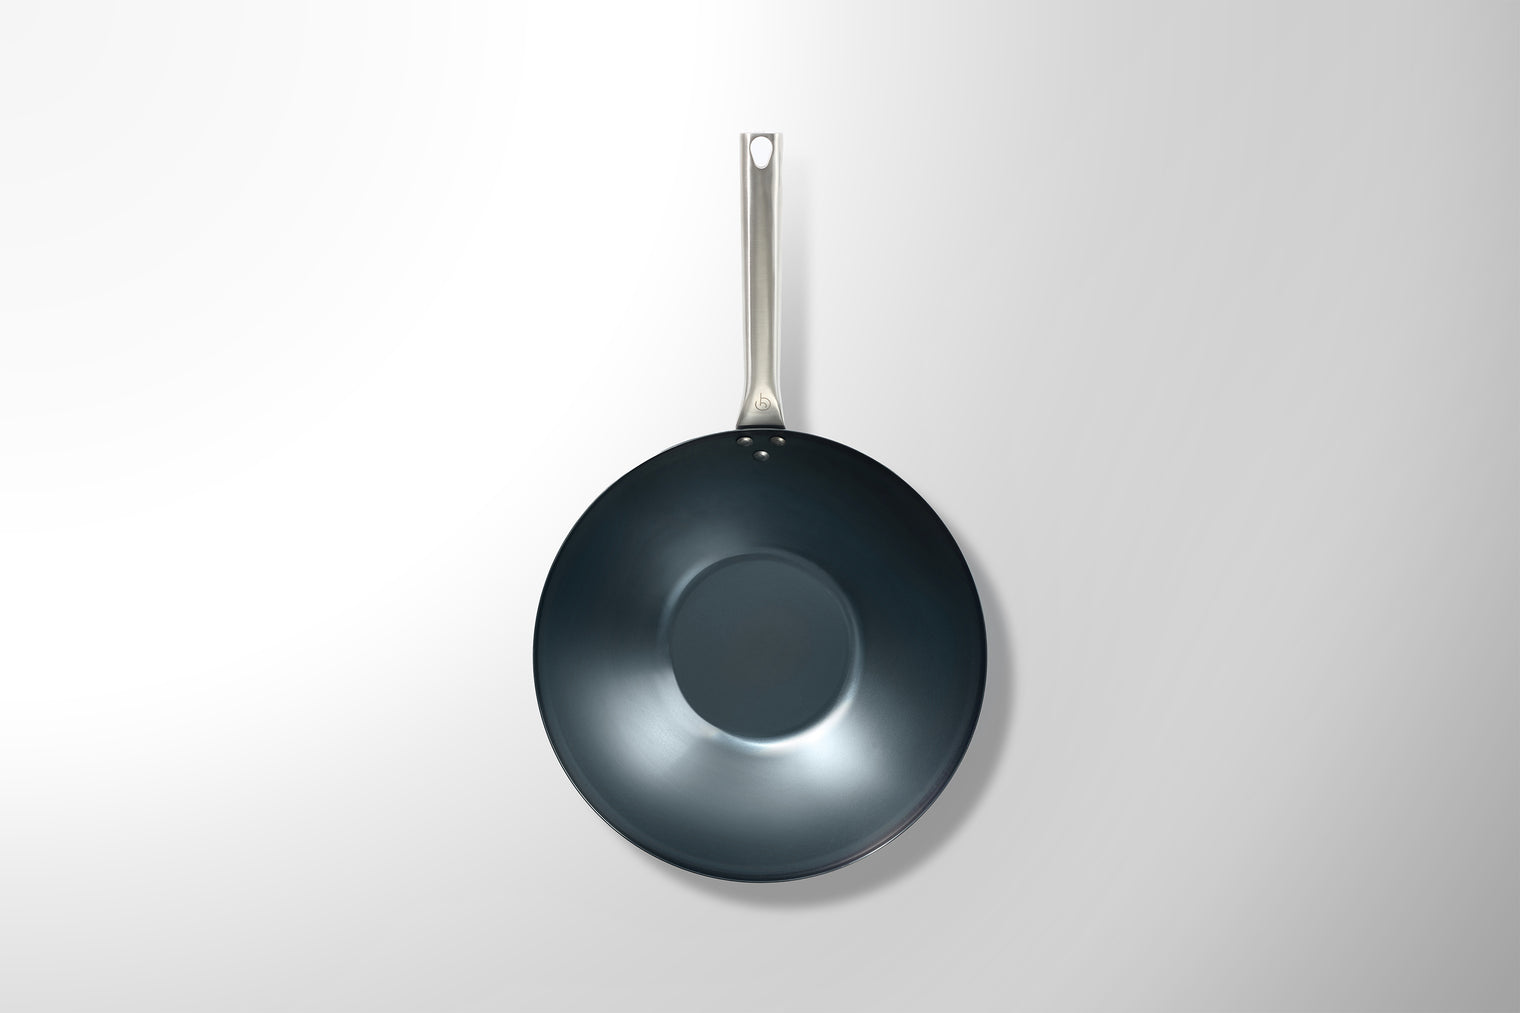
Wok: 140 mm cooking surface diameter; 350 mm outer diameter; 98 mm height; and 583 mm total length.

Dimensions
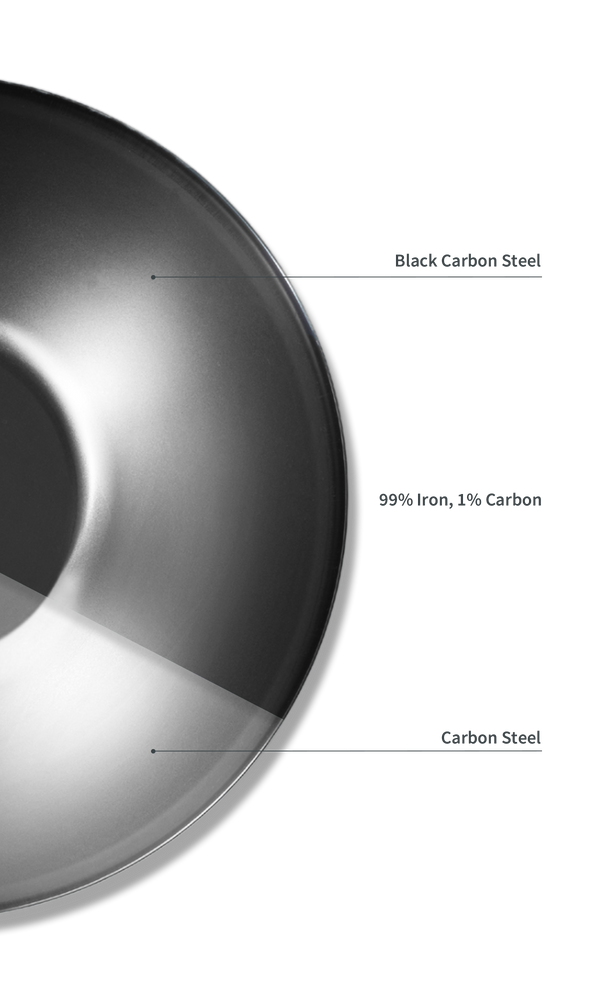
Made of 99% Iron, 1% Carbon
High heat. Fast response. Naturally nonstick—better with time.
Chef-Approved. Home-Cook Friendly.
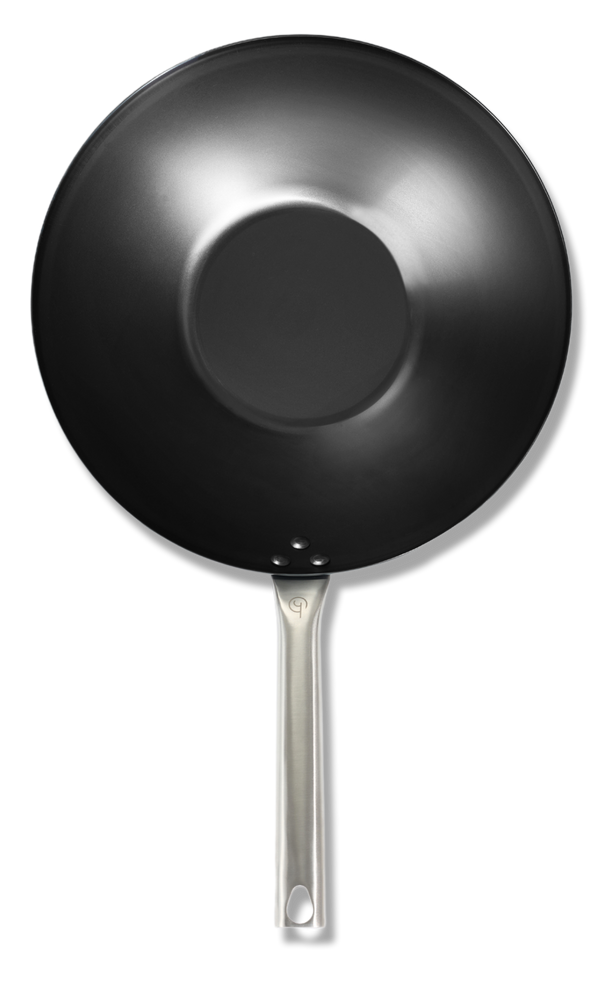
Built for high-heat techniques like searing and stir-frying, our proprietary heat treatment strengthens the steel, improves rust resistance, and jumpstarts the seasoning process.
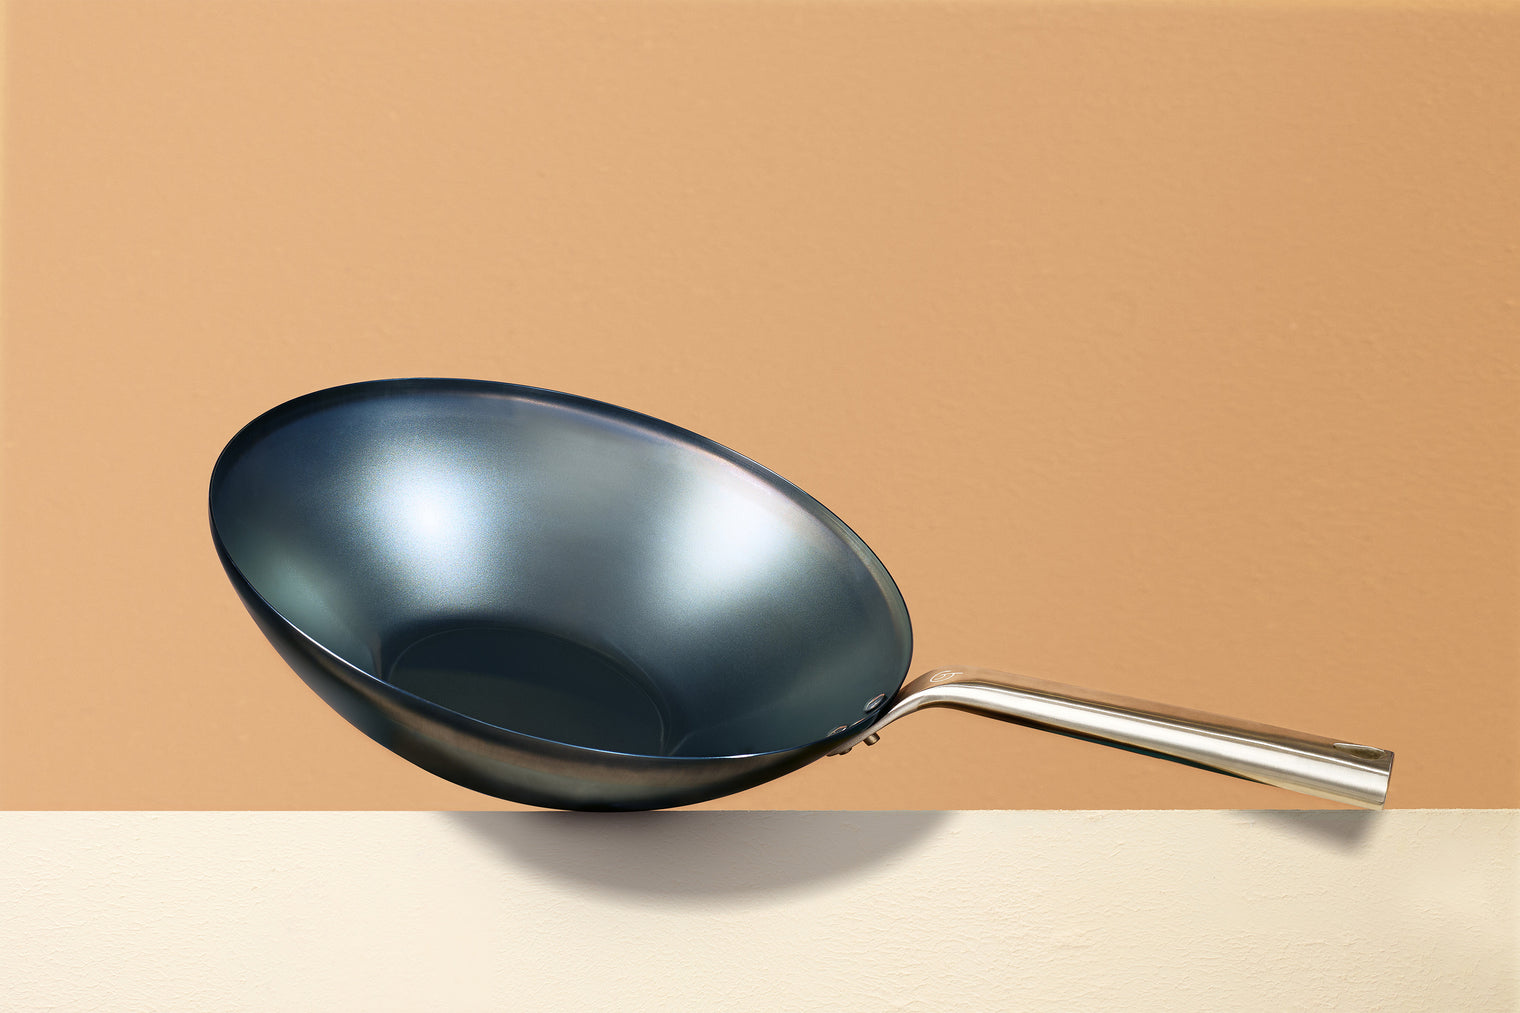
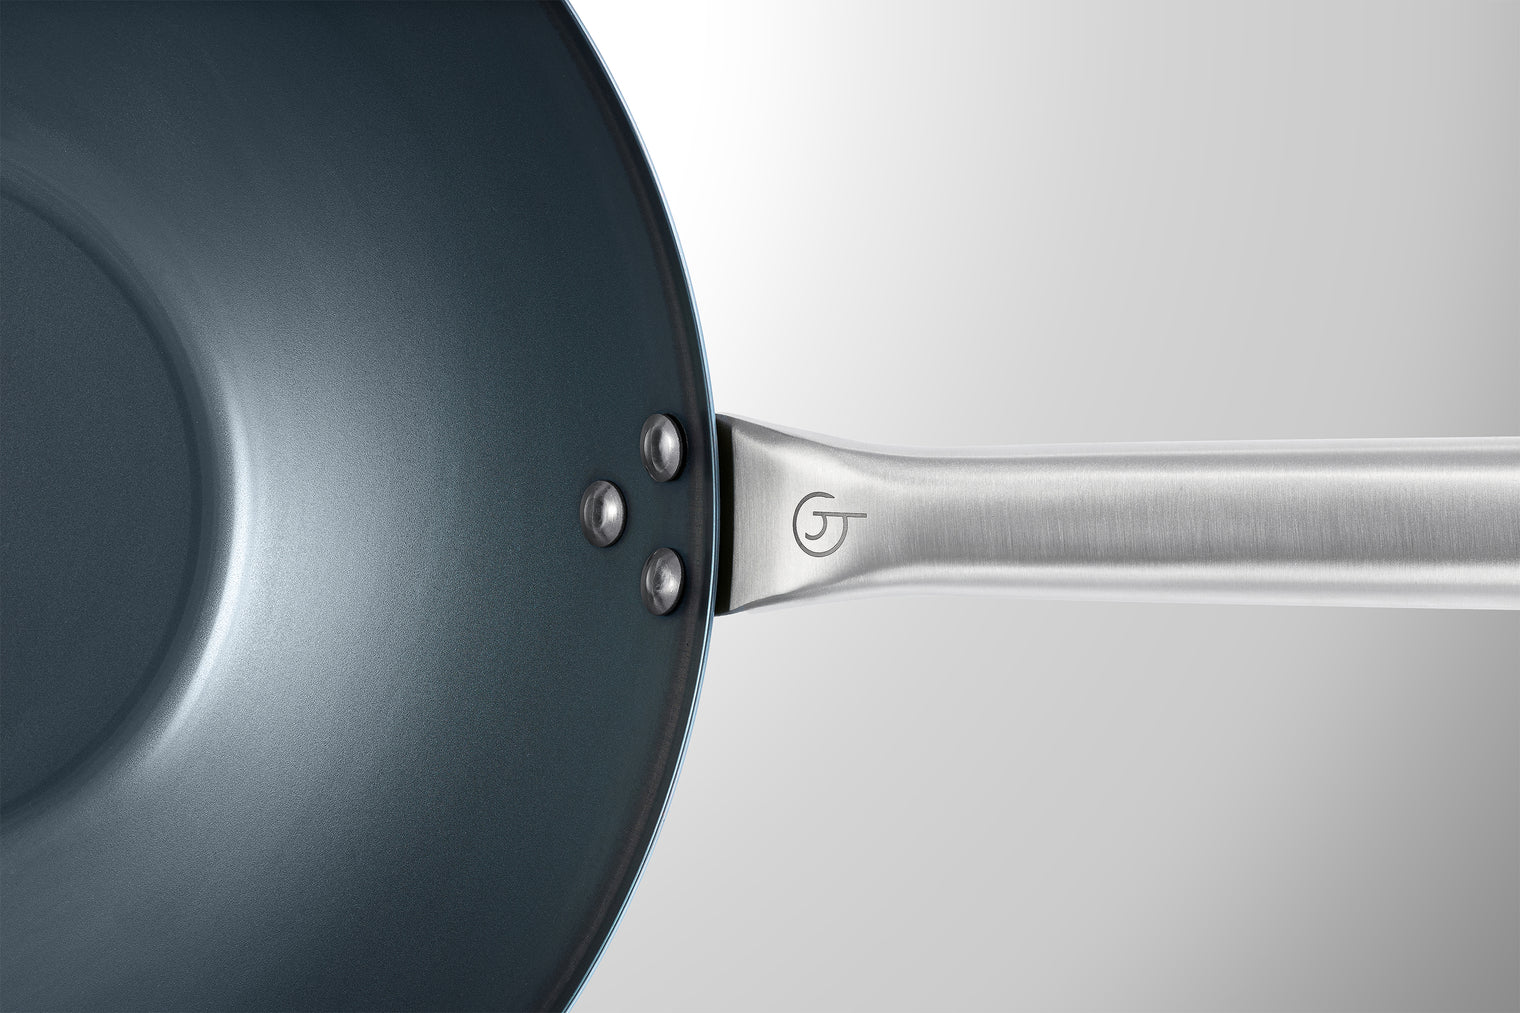
The flat bottom stays stable on all cooktops and fits securely in professional wok hubs.
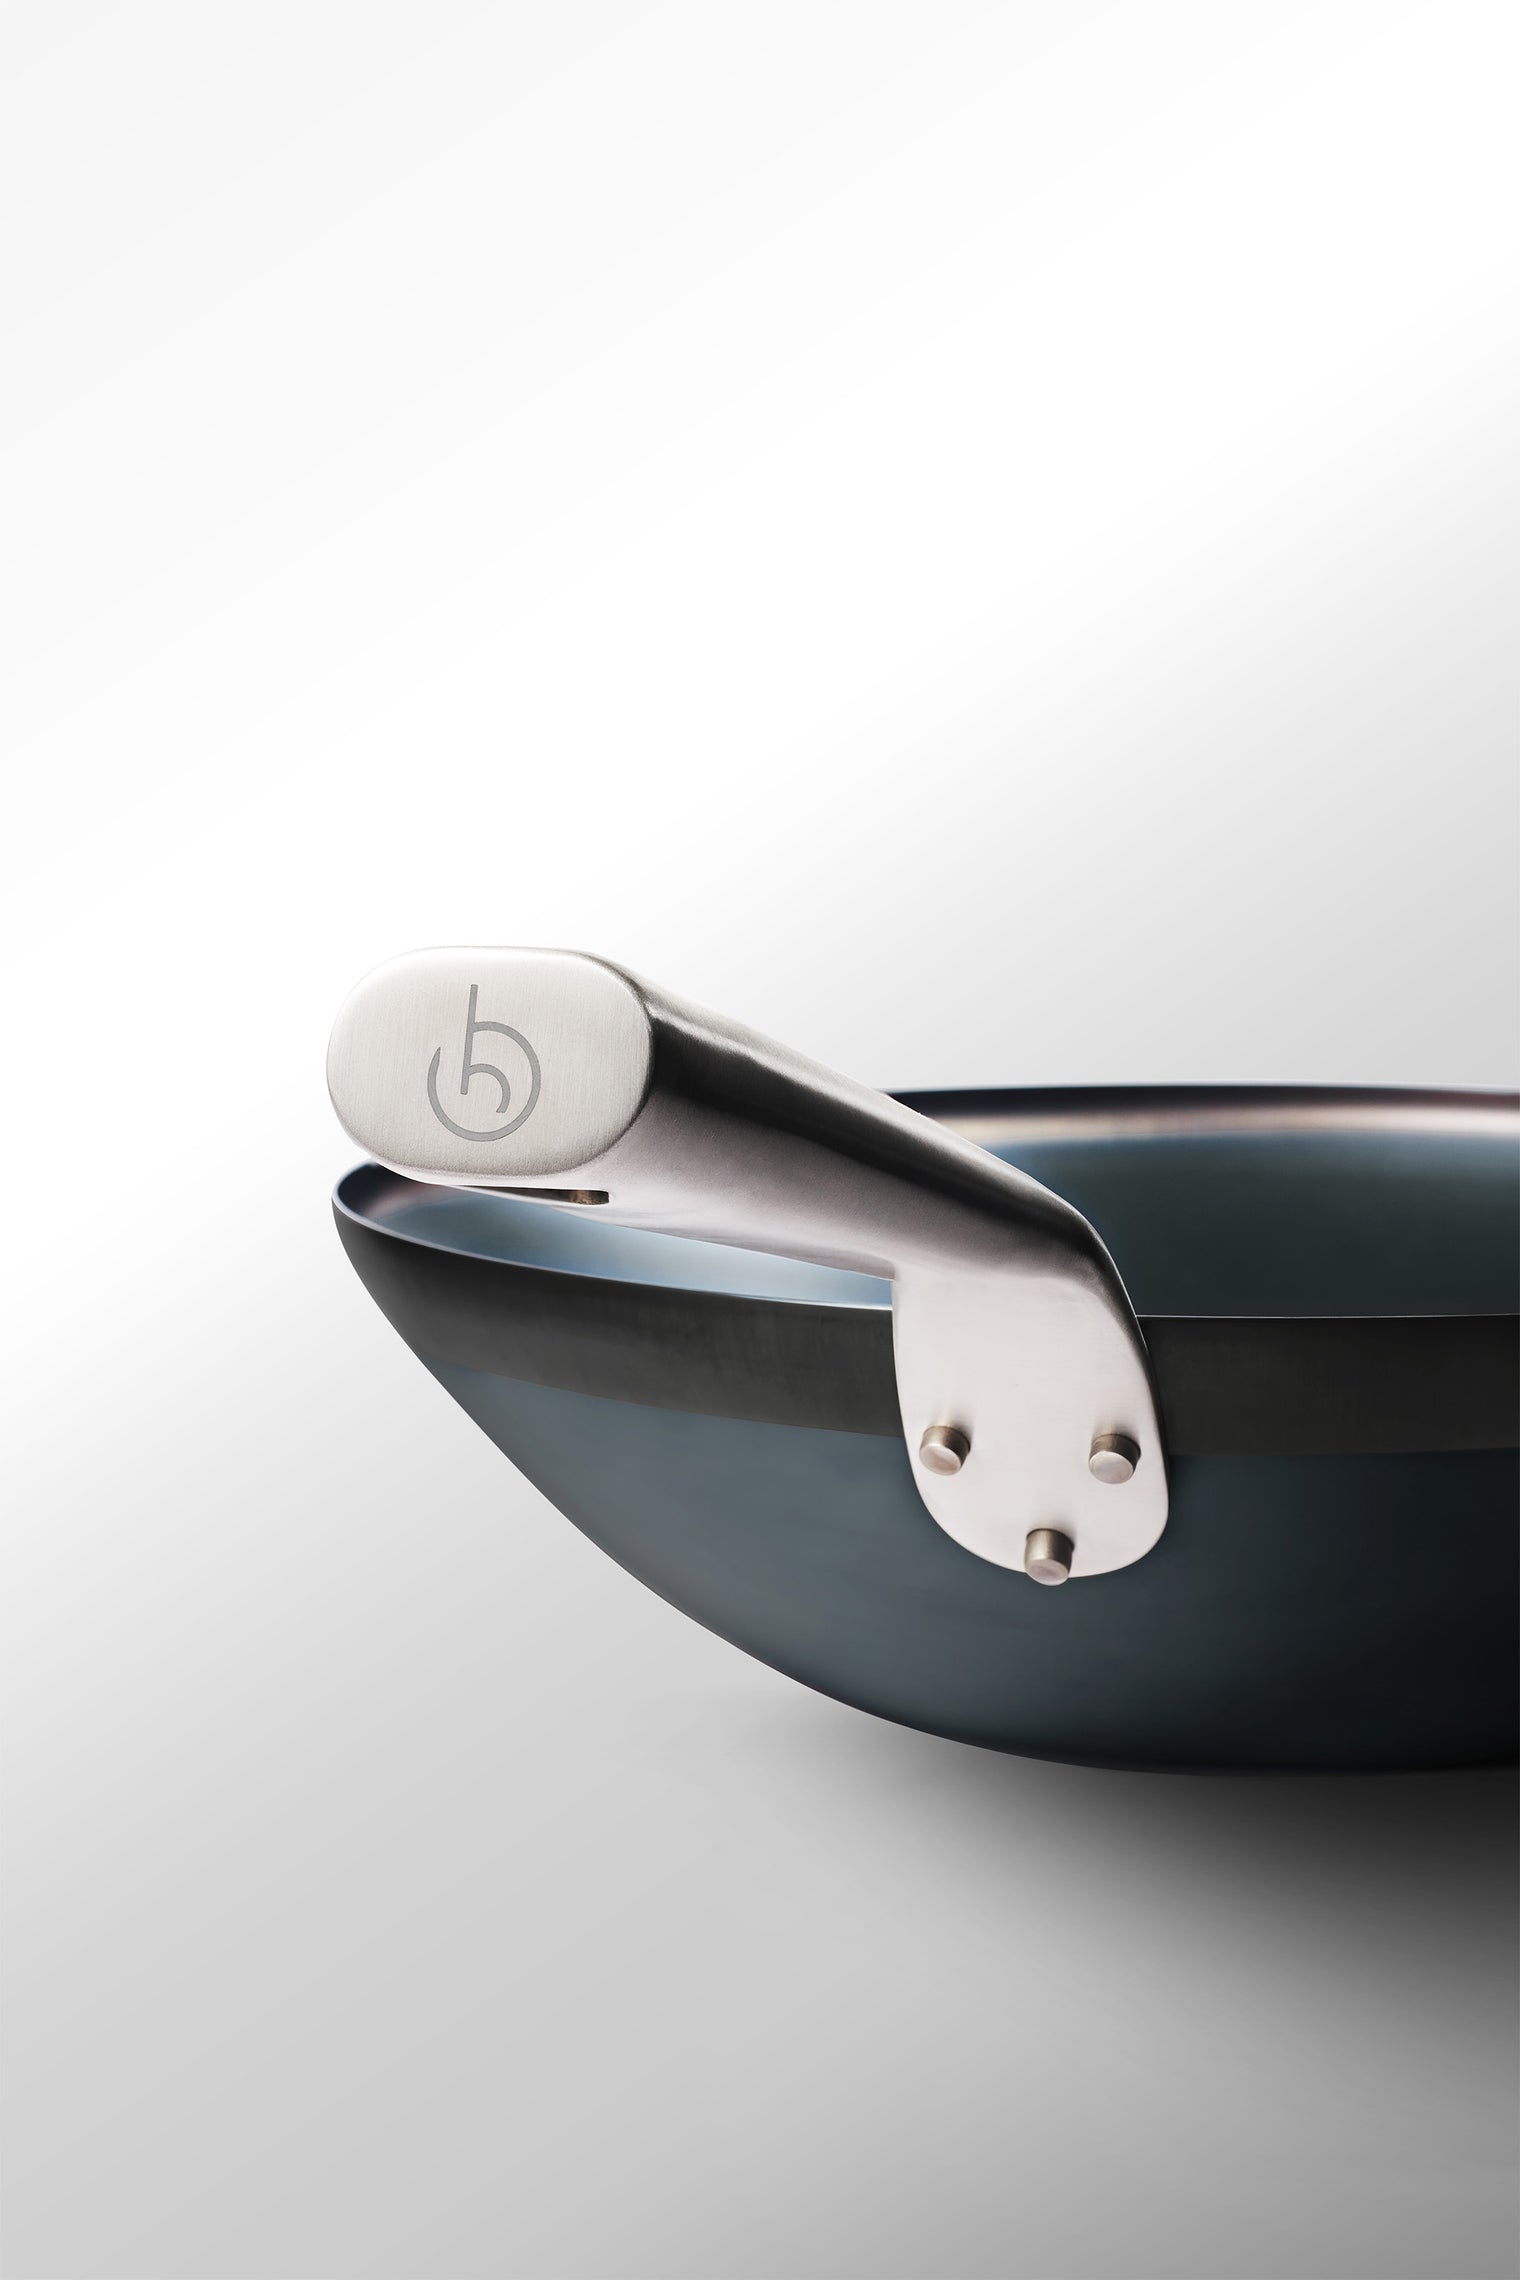
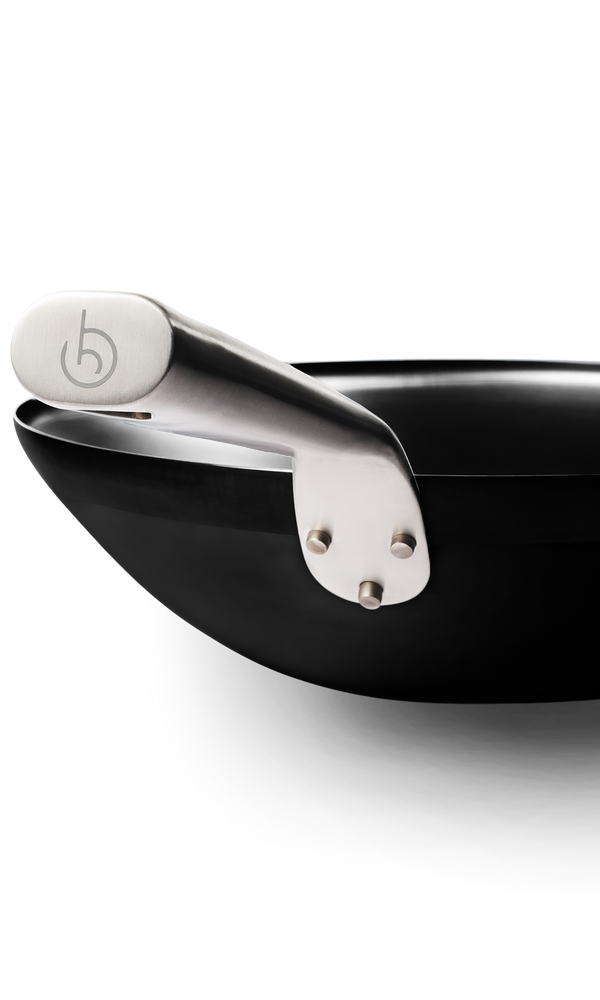
The hollow stainless-steel handle stays cooler to the touch and is safe for both stovetop and oven use.
Signature Handle
Small details make the difference. Discover why chefs swear by it.
Feels Right From the First Grip.
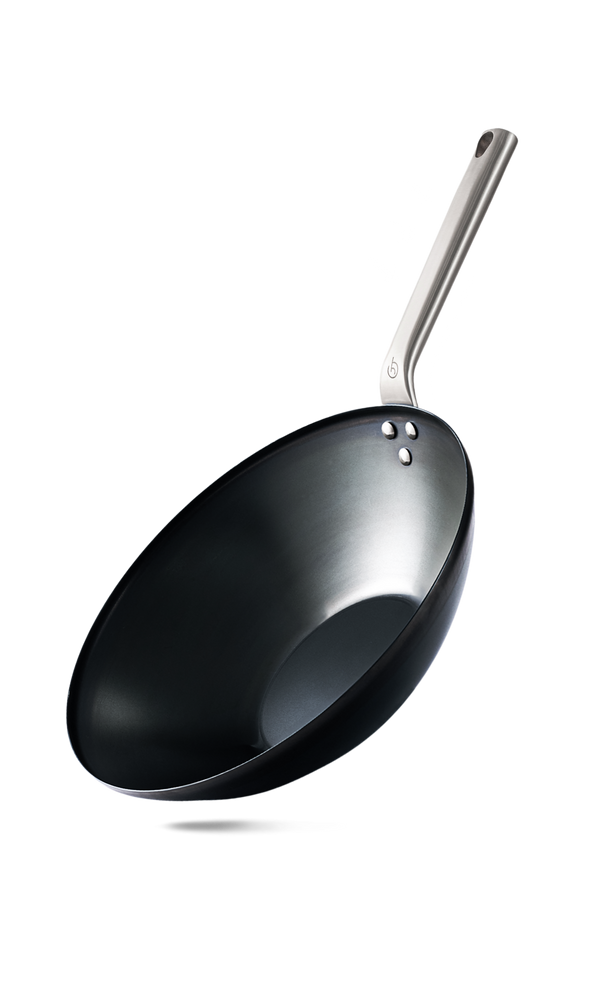
Inspired by traditional wooden handles, reimagined in ergonomic, oven-safe steel.
Shaped for balance and control. The hollow interior keeps it light and cool.
Built to last—no replacements needed.
Heritage + Longevity
Crafted with time-tested skill and modern performance in mind. Made to be used, cared for, and kept—for a lifetime of cooking.
Attached for Life
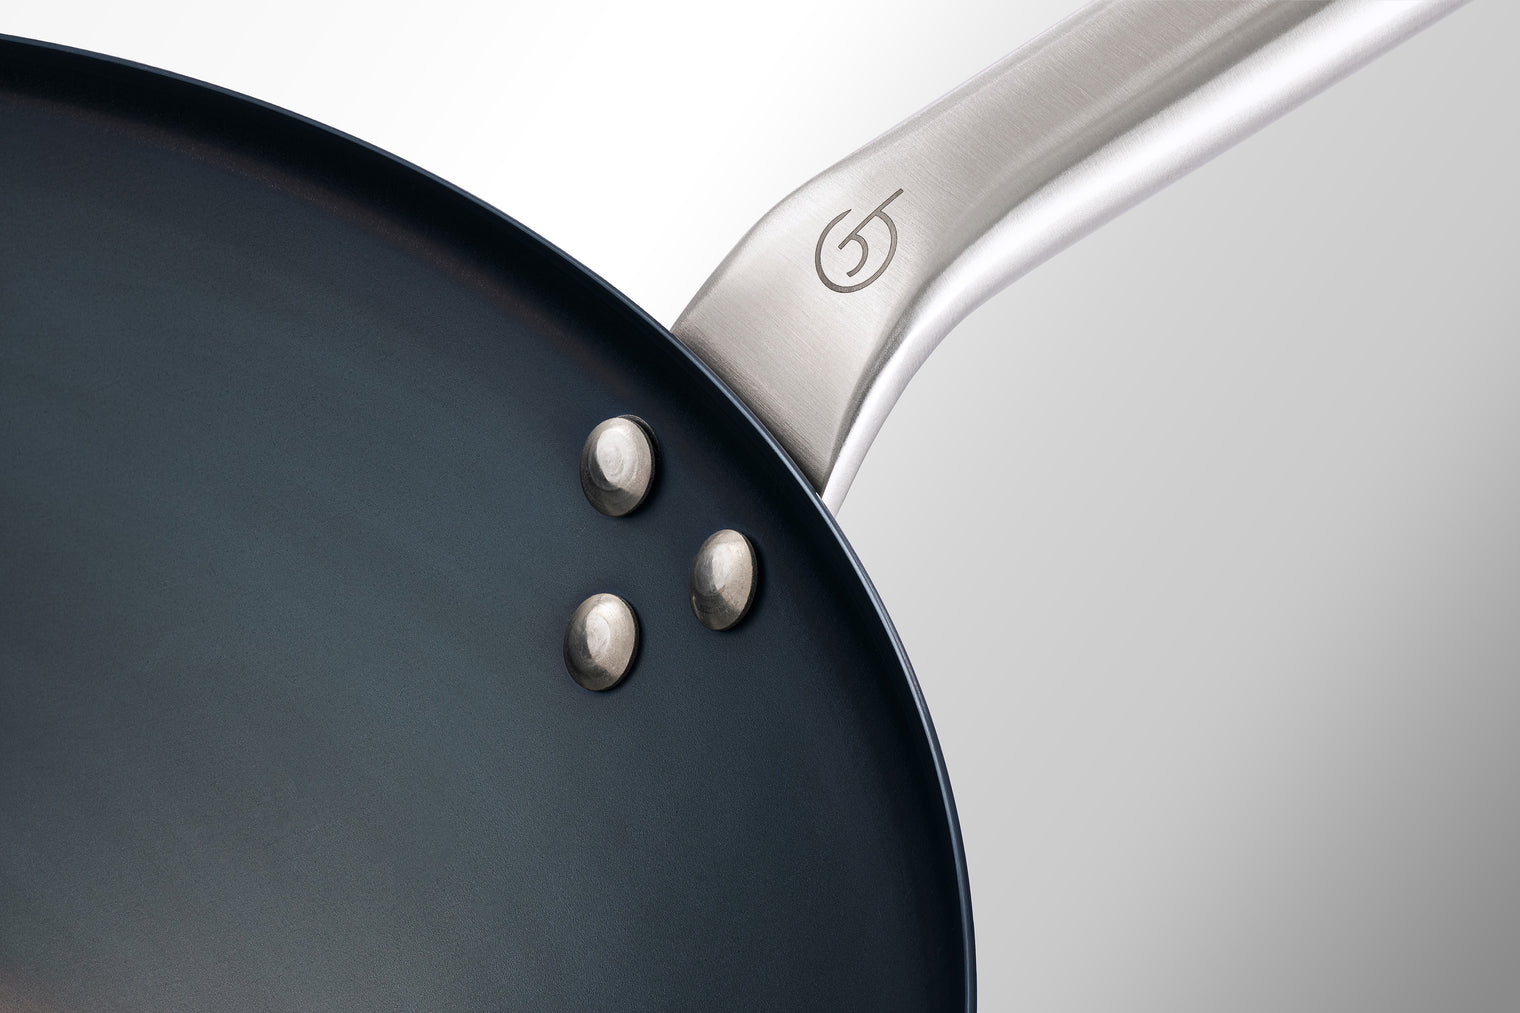
Durable stainless-steel rivets keep the handle firmly in place, even under high heat and repeated use.
Refined through more than 50 years of metalworking experience, it’s built to perform day after day.

A Curve with Purpose. Stable Performance.
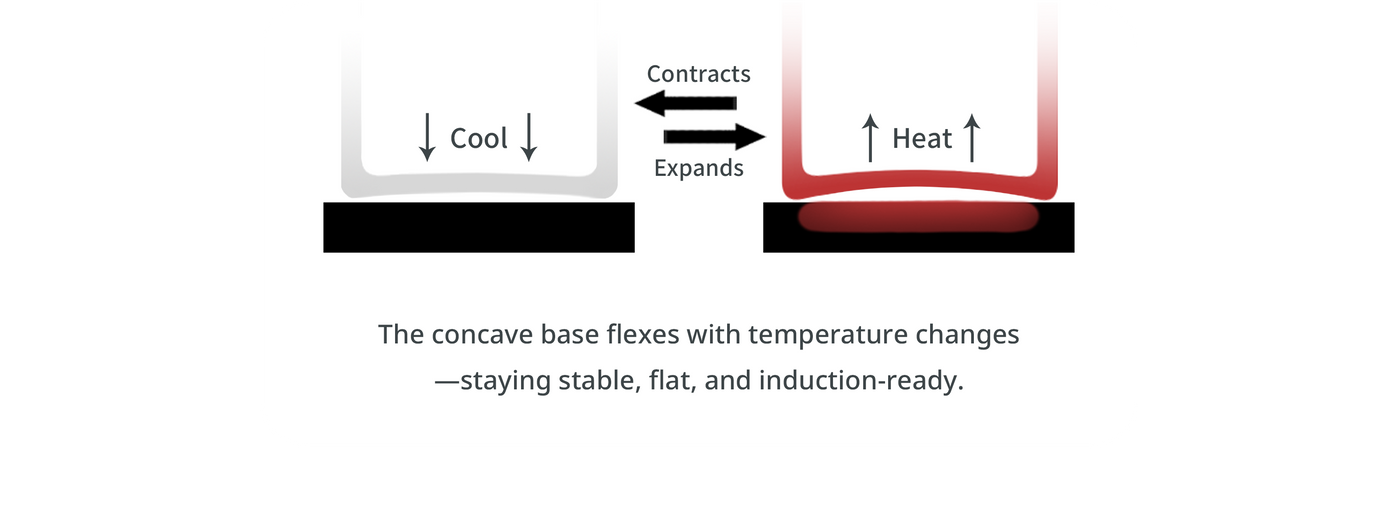
Our subtly concave base is engineered to resist warping and stay flat–even under extreme heat.
While completely flat bottoms can deform and lose contact with the cooktop, our design ensures lasting stability across all heat sources, including induction.
Carbon Steel Construction
We preserve the inherent strength and thermal conductivity of carbon steel while making it easy for first-time users.
Improved Carbon Steel
- 99% iron, 1% carbon
- Heat treated at high temperature to improve strength and rust resistance.
- Black-blue patina provides a base layer of seasoning—ready to cook with, no color changes required.
Carbon Steel Tips
Each wok is heat-treated and protected with beeswax and oil to prevent rust. Natural spotting may occur and is easily removed before first use.
Before first use:
- Wash with warm water and soap to remove protective wax and oil.
- Dry completely.
- Season to build your nonstick layer.
Ongoing care:
- Always dry immediately after washing.
- Re-season if rust appears or if seasoning wears off.
- Avoid acidic ingredients like tomatoes or kimchi until seasoning is well developed.
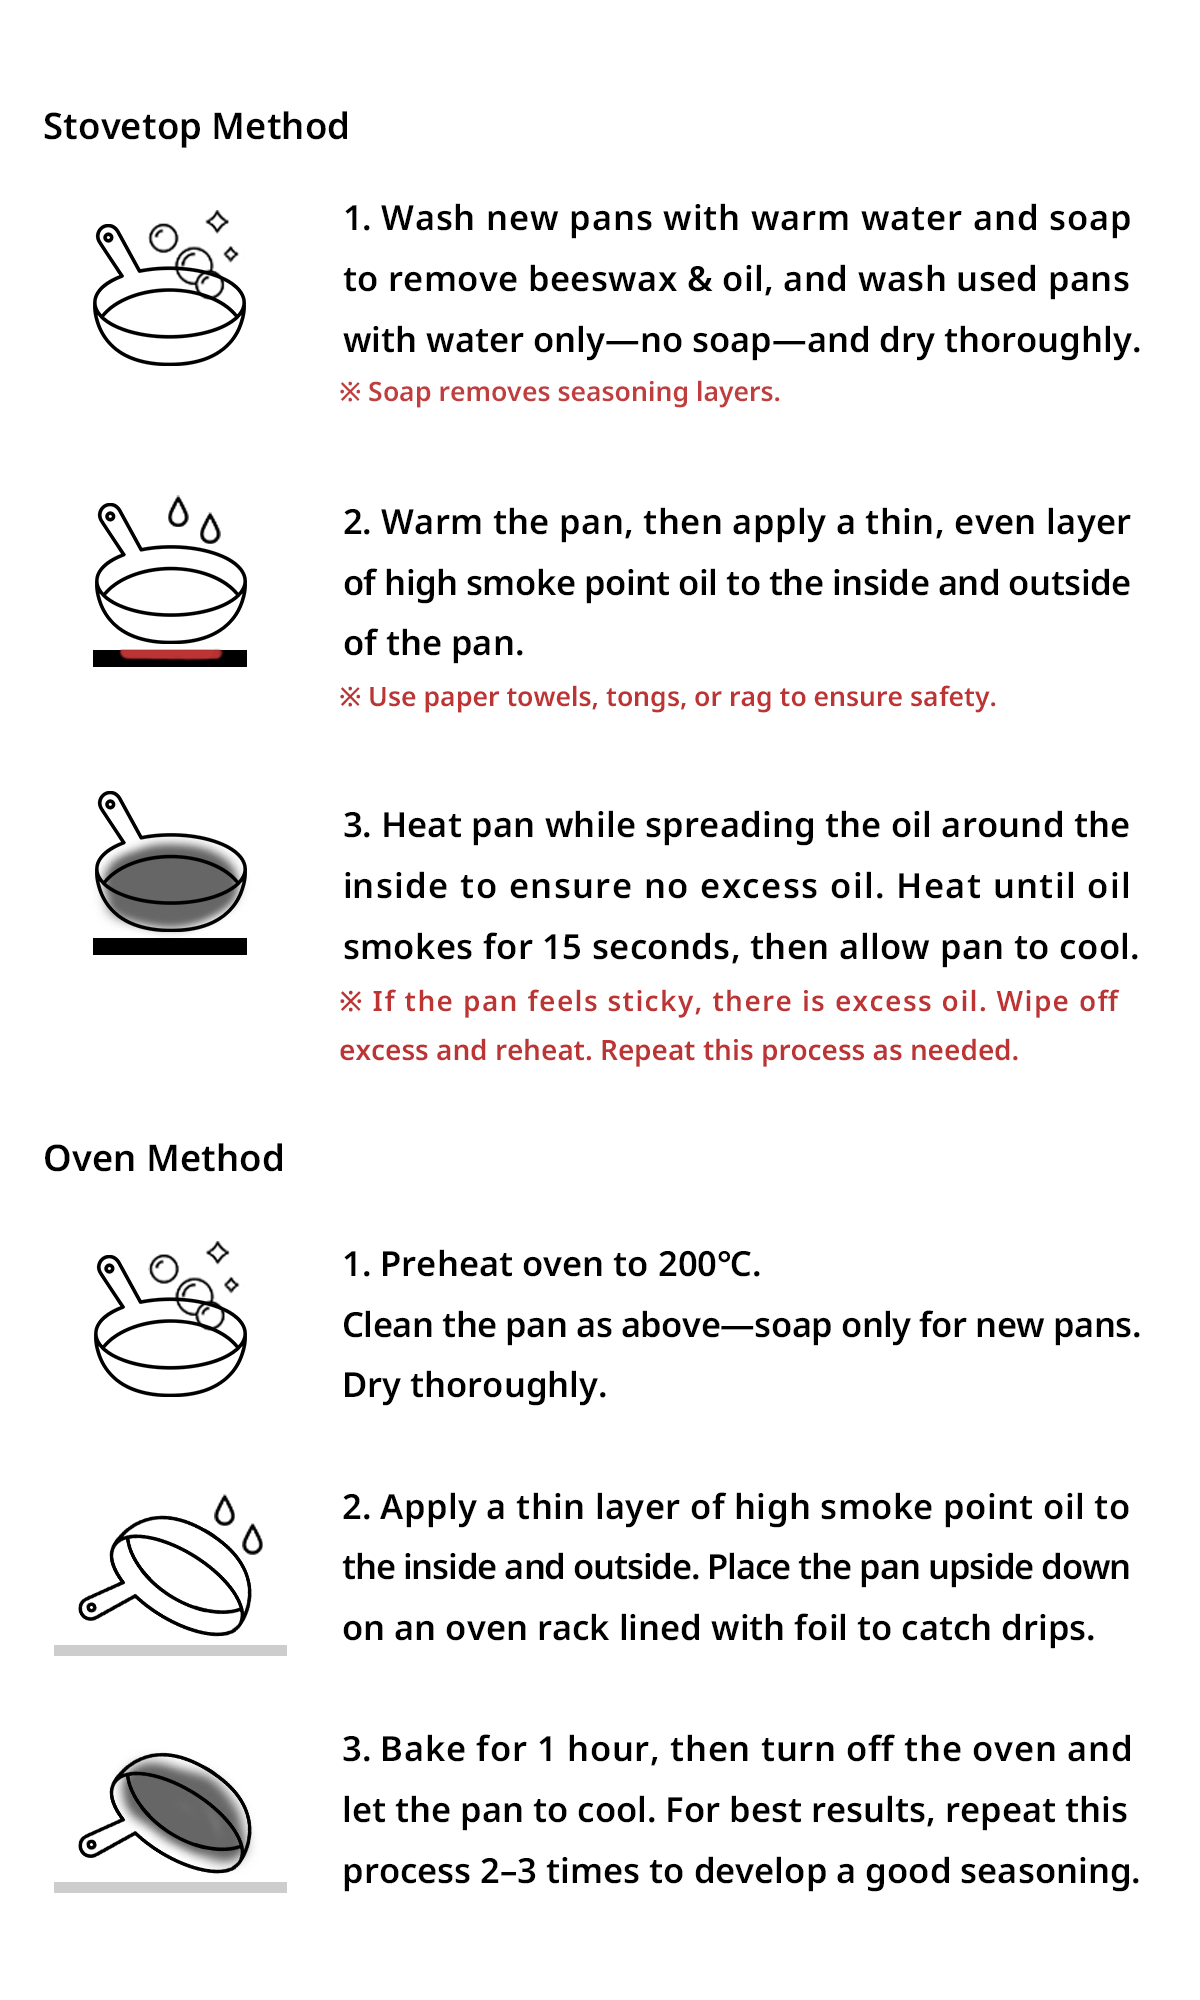
Seasoning: How It Works
Seasoning creates a hardened oil layer that protects the surface and makes it naturally nonstick.
The more you cook, the better it performs.


